

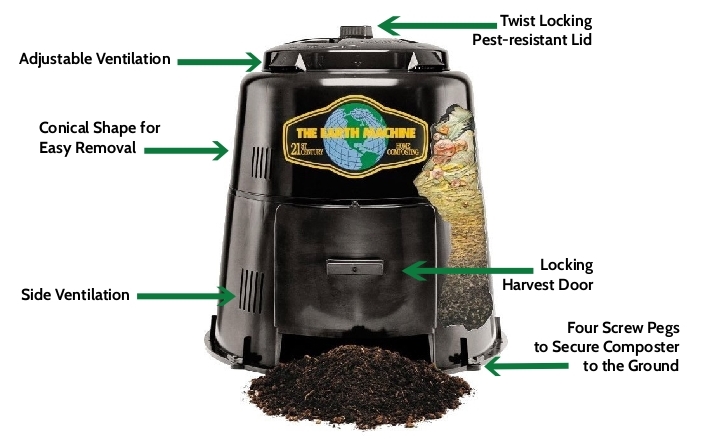
Features of your
Earth Machine Backyard Composter
After a few months, your kitchen scraps near the bottom of your composter will have decomposed to a point where you cannot identify the materials you added, and will look much like soil.
There are two ways of harvesting this finished compost, one when you just want a few shovels of compost and another when you want as much finished compost as possible or to make maximum space for fresh scraps. Your Earth Machine composter has a door at the bottom for quick access to finished compost. Just lift the door and dig the material out of the bottom.
Earth Machine Assembly Instructions
Step 1 - Twist and remove the lid.
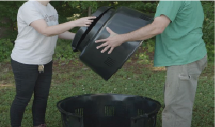
Step 2 - Place the bottom section on the ground, and set the top section on top of it.
IMPORTANT: Make sure that the arrows on the the top and bottom sections line up. Also, the bottom of the top section should sit in the groove on the top of the bottom section.

Step 3 - Check the outside and inside with your hand to ensure the 6 tabs line up with the 6 slots.
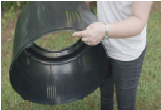
Step 4 - To ensure the tabs are completely in the slots, push down firmly on the two halves of the composter starting at the arrows and working fully around the composter rim.
Step 5 - To confirm that all 6 tabs are in place, turn the unit upside down and make a visual check.
Step 6 - Slide the harvest door in place, bending slightly if necessary.
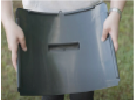
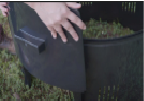
Step 7 - Put the lid on by lining up the arrow on the lid with the arrow on the top of the composter. Twist the lid to lock or control ventilation.

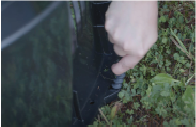
Step 8 - Once you have determined the location, you can anchor the composter to the ground by screwing the four pegs into the ground at a slight angle. To maintain correct hole spacing, ensure the harvest door is in place before screwing down the pegs.
